Setting up a printer across different operating systems can be tricky. Many users face challenges when trying to establish a seamless connection between their devices. Whether you’re using Windows or macOS, the process often involves navigating complex settings and ensuring compatibility.
One of the most common frustrations is ensuring that both the printer and computer are on the same network. Without this, the setup process can fail, leaving users stuck. This guide simplifies the technical steps, making it easier for anyone to achieve a successful setup.
By covering both Windows and macOS systems, this guide addresses real-world challenges. It provides clear, step-by-step instructions to help you avoid common pitfalls. With this resource, you can confidently establish a reliable connection between your devices.
Introduction to Network Printer Setup
Establishing a reliable printer setup requires understanding network basics. Whether using a wired Ethernet or wireless connection, the network type plays a crucial role in ensuring smooth operation. Both options have their advantages, but the key is to match the printer and device to the same network.
Router configuration is another critical step. Ensure your router supports the printer’s requirements, such as IP address allocation. For consistent performance, a static IP is recommended. Unlike dynamic IPs, which can change and disrupt the connection, a static IP ensures the printer remains accessible.
https://www.youtube.com/watch?v=tg1soEWNcFg
Printer driver installation is equally important. Drivers act as a bridge between the device and the printer, enabling communication. Always download the latest drivers from the manufacturer’s website to avoid compatibility issues.
For enterprise-level setups, additional considerations come into play. Large networks may require advanced configurations to handle multiple devices efficiently. Planning ahead can save time and resources.
| Static IP | Dynamic IP |
|---|---|
| Consistent address for reliable access | Address changes can disrupt connectivity |
| Ideal for printers and shared devices | Better suited for temporary connections |
| Requires manual configuration | Automatically assigned by the router |
Finally, always ensure your printer is on the same network as your computer. This step is vital for a successful setup. For more details, check out this guide on matching network between printer and computer.
How to Find a Printer on a Network
Locating a printer on a network is essential for seamless printing. Whether you’re in an office or at home, the process involves a few straightforward steps. Ensuring your devices are properly connected and configured is the first step to success.
Ensure Network Connectivity
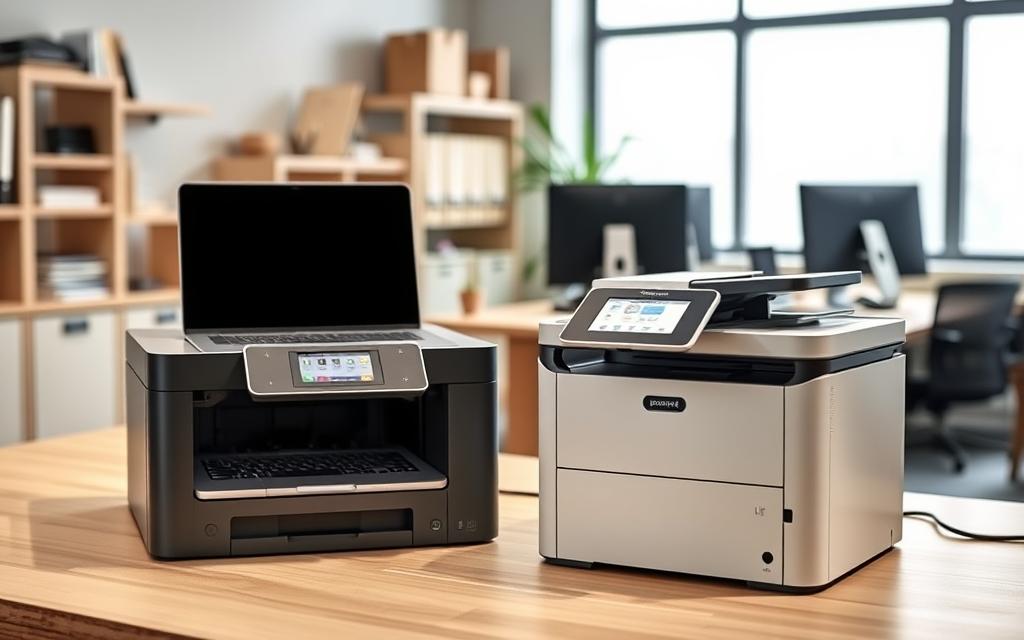
Before searching for your printer, verify its power and network status indicators. Both should be active to confirm it’s online. Ensure your computer and printer are on the same network. This is crucial for the printers scanners to communicate effectively.
Access Devices and Printers
Navigate to the Control Panel on your Windows device. Select Devices and Printers from the menu. This interface displays all connected devices, including your printer. If your printer isn’t listed, you may need to add it manually.
Add a Printer
If your printer isn’t automatically detected, use the add printer option. Follow the prompts to search for available printers displayed on the network. This process may take a few moments, depending on your network’s size.
Select Your Printer
From the list of available printers, choose your desired printer. Ensure it matches the model and location you intend to use. Once selected, confirm the connection and test a print job to verify functionality.
| Step | Action |
|---|---|
| 1 | Verify printer and network status |
| 2 | Access Devices and Printers |
| 3 | Add printer manually if needed |
| 4 | Select and confirm your printer |
By following these steps, you can easily locate and configure your printer on the network. Troubleshoot any issues by ensuring both devices are properly connected and updated.
How to Add a Network Printer in Windows
Windows offers multiple ways to configure printers, with slight variations between versions. The process remains straightforward once you know where to look. Here’s how to streamline the setup for Windows 10, 11, and 8.
Windows 10 Printer Configuration
For Windows 10 users, adding a printer involves these steps:
- Open Settings from the Start menu
- Navigate to Devices > Printers & Scanners
- Click Add a Printer and follow the prompts
Windows 10 automatically searches for available devices. If your printer isn’t found, select “The printer I want isn’t listed” for manual setup.
Windows 11 Printer Setup
Windows 11 simplifies the process with its updated interface:
- Press the Windows key + I to open Settings
- Go to Bluetooth & devices > Printers & scanners
- Choose Add device for automatic detection
The system scans for both wired and wireless printers. For troubleshooting, check our detailed network printer guide.
Windows 8 Printer Installation
Windows 8 users can access printer settings through:
- The Windows+X shortcut to open the quick-access menu
- Select Control Panel > Devices and Printers
- Click Add a printer in the top toolbar
| Version | Access Method | Key Difference |
|---|---|---|
| Windows 10 | Settings > Devices | Traditional “Add Printer” option |
| Windows 11 | Settings > Bluetooth & devices | “Add Device” includes printers |
| Windows 8 | Control Panel path | Requires manual navigation |
Pro Tip: Always verify driver installation after setup. Right-click your printer in Devices and select “Properties” to check driver status.
How to Add a Network Printer in macOS
Adding a printer to macOS is straightforward with the right steps. The process leverages the system’s intuitive interface and built-in tools like CUPS and Bonjour. Whether you’re using AirPrint or driver-based installations, macOS ensures seamless integration.
Open System Preferences
Start by clicking the Apple menu in the top-left corner. Select System Preferences to access the settings. This menu is the gateway to configuring all connected devices, including printers.
Access Printers & Scanners
Within System Preferences, locate the Printers & Scanners icon. Clicking this opens a list of all available printers scanners on your network. If your printer isn’t listed, ensure it’s powered on and connected to the same network.
Add a Printer
Click the add printer button to begin the setup. macOS will automatically search for available devices. If your printer isn’t detected, use the IP address or Bonjour protocol for manual configuration. Ensure you have admin privileges to complete the process.
For driver-based installations, download the latest software from the manufacturer’s website. AirPrint-compatible printers require no additional drivers, making them a convenient choice for many users.
- Verify your printer’s network status before setup.
- Use Bonjour for automatic discovery of compatible devices.
- Admin privileges are required for certain configurations.
By following these steps, you can easily add a printer to your macOS system. Troubleshoot any issues by ensuring proper network connectivity and updated drivers.
Conclusion
Achieving a smooth printing experience relies on proper setup and maintenance. Ensuring your printer and computer are on the same network is the foundation for success. Follow OS-specific best practices to avoid common pitfalls.
Regular driver updates are essential for compatibility and performance. If issues arise, resetting to default settings can often resolve connectivity problems. For advanced configurations, professional support ensures optimal results.
Periodically review your network settings and troubleshoot any anomalies. With these steps, you can maintain a reliable printing setup and minimize disruptions.
FAQ
What steps are needed to ensure network connectivity for a printer?
Verify the printer is powered on and connected to the same network as your computer. Check the network settings on the printer and ensure it has a valid IP address.
How do I access the "Devices and Printers" section in Windows?
Open the Start menu, type “Devices and Printers” in the search bar, and select it from the results. This section displays all connected devices.
Can I add a network printer in Windows 10?
Yes. Go to Settings > Devices > Printers & Scanners, click “Add a printer or scanner,” and select your desired printer from the list.
What is the process for adding a network printer in Windows 11?
Navigate to Settings > Bluetooth & devices > Printers & scanners. Click “Add device” and follow the prompts to install the printer.
How do I add a network printer in macOS?
Open System Preferences, select “Printers & Scanners,” click the “+” button, and choose your printer from the list of available devices.
What should I do if my printer is not displayed in the list?
Ensure the printer is connected to the network and powered on. If it still doesn’t appear, manually enter the printer’s IP address during the setup process.
Can I set a network printer as the default device?
Yes. After adding the printer, right-click its icon in the “Devices and Printers” section and select “Set as default printer.”
Is Bluetooth required for network printer setup?
No. Network printers typically use Wi-Fi or Ethernet connections. Bluetooth is optional for specific models that support it.
